Crochet Topped Tea Towels
Spring is a weird time for knitters and crocheters… The weather gets warmer in most places of the world, and it’s not always practical to wear sweaters, scarves, and hats. While many makers look to shawls to fill their fiber fix during the warmer months, not everyone loves them. Personally, I think shawls are very lovely to look at, but kind of impractical to wear. They also don’t really fit in with my personal style. Because of this, I don’t think I’d ever complete a shawl unless it was a request or a gift for a friend. So what do I work on in the spring and summer instead?
Home decor.
My parents recently got ahold of an old baby changing table that they converted to a coffee stand for the kitchen. It was cut down in width, and then painted a super pretty light aqua color. My mom purchased a few tea towels that had coffee related motifs and accents in the same light aqua color as the table. I saw them and was instantly reminded of my grandmother’s house where she would have tea towels hanging on the cabinets with crochet “toppers” added to them.
With my mother’s permission, I set forth to cutting her brand new kitchen towels in half for the sake of learning to make this vintage home decoration.
Materials
Since this was my first time making these, I didn’t want to dive in with any expensive yarn. I picked Red Heart Super Saver because it was crazy cheap and they happened to have the correct light aqua color to match the coffee stand.
Pattern
I wasn’t prepared to figure this all out myself for my first attempt. I went to Ravelry and found a few very unique towel topper crochet patterns. I narrowed it down to this Pineapple Towel Topper by Heather Holland. I had always wanted to try crochet pineapples before, so this pattern seemed like a great way to learn 2 things at once 🙂
Process
The pattern didn’t go into too much detail about how to actually crochet into the towel, so I added some steps before I got started. First, I cut the towels in half, then ran a zig-zag stitch across the raw edge with my sewing machine to reinforce and prevent fraying.

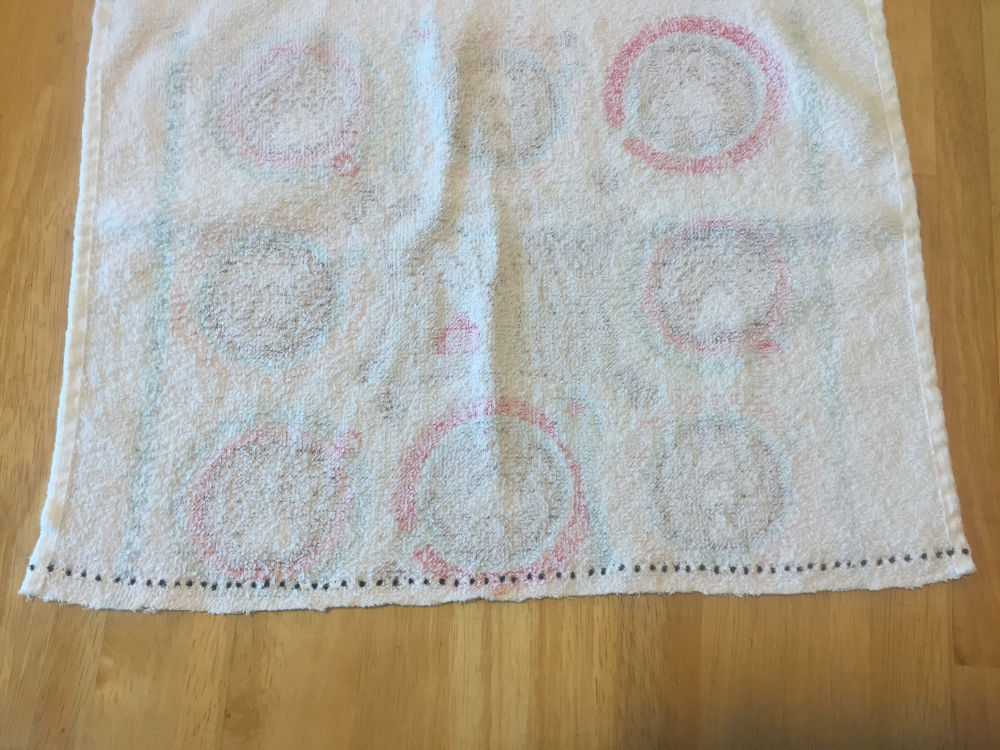
Next was figuring out how to get the 65 foundation stitches into the fabric of the towel. For starters, I made 65 marks across the back of the towel, evenly spaced, so I could make sure I had enough room for the stitches.
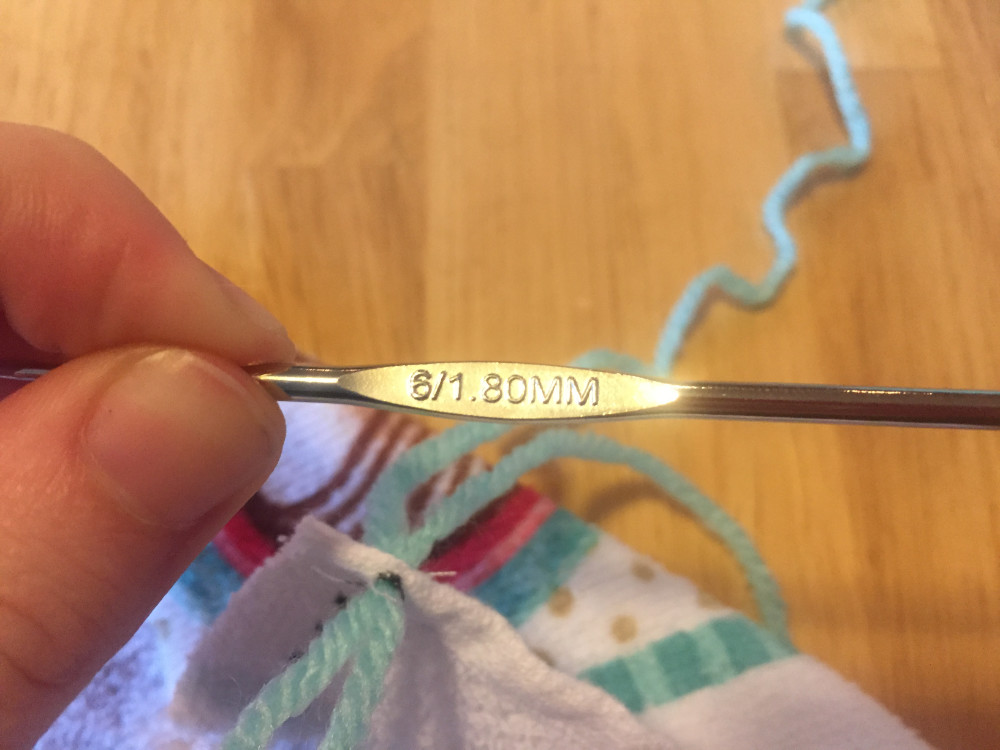
I used a very tiny (US 6 / 1.80 mm) crochet hook to work the yarn through the towel fabric. Terrycloth is a rather loose-knit material, so I was able to slip the hook into the weave of the fabric fairly easily. I did a slip stitch in each of the marks I made the whole way across the top of the towel.
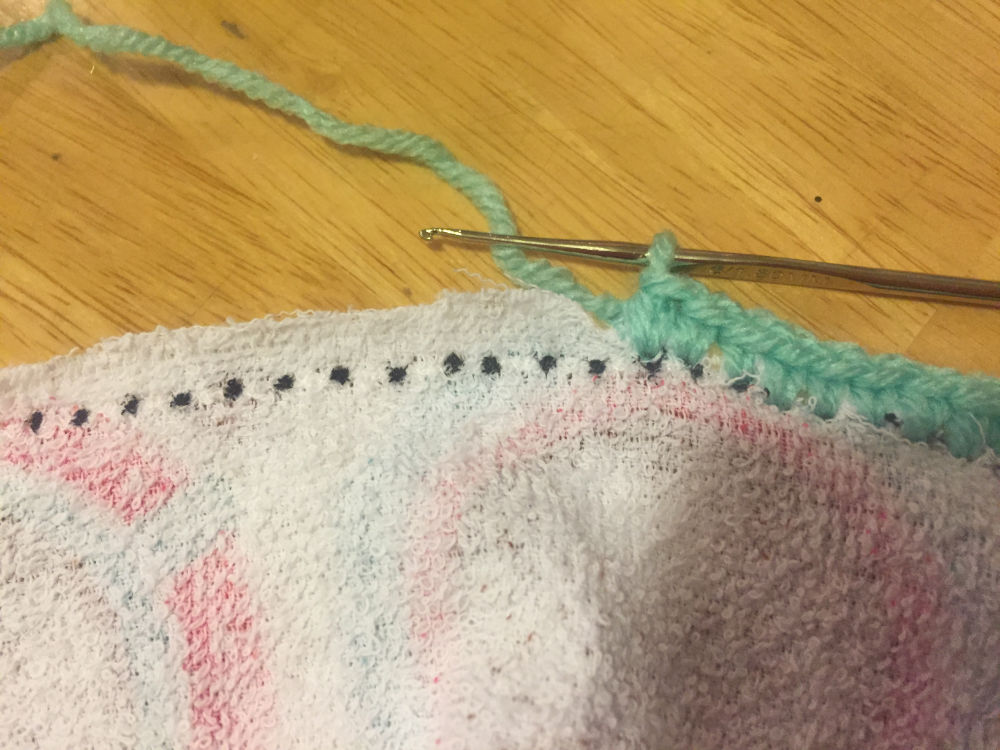
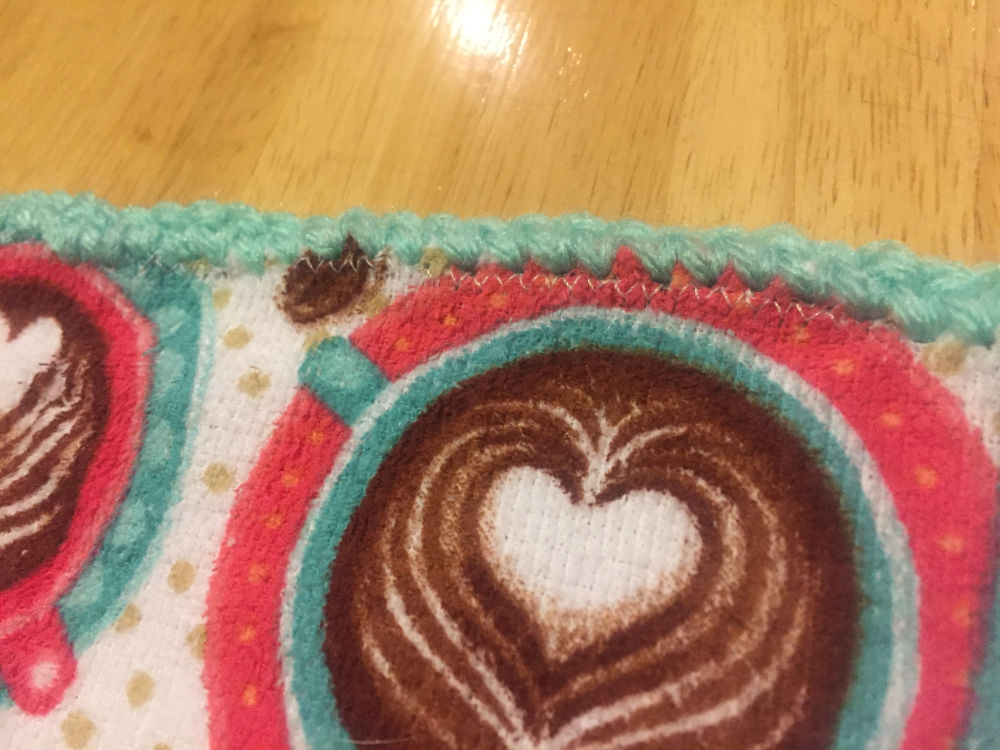
Finally, I switched to my G hook and started the pattern by laying the 65 foundation single crochets into the slip stitches I created.
From this point on, it was easy to just follow the pattern to the end.
Finished Object
I’m super happy with the finished towels and I think my parents like them too! The shade of aqua in the yarn isn’t quite right with the paint on the coffee stand, but they’re definitely close.
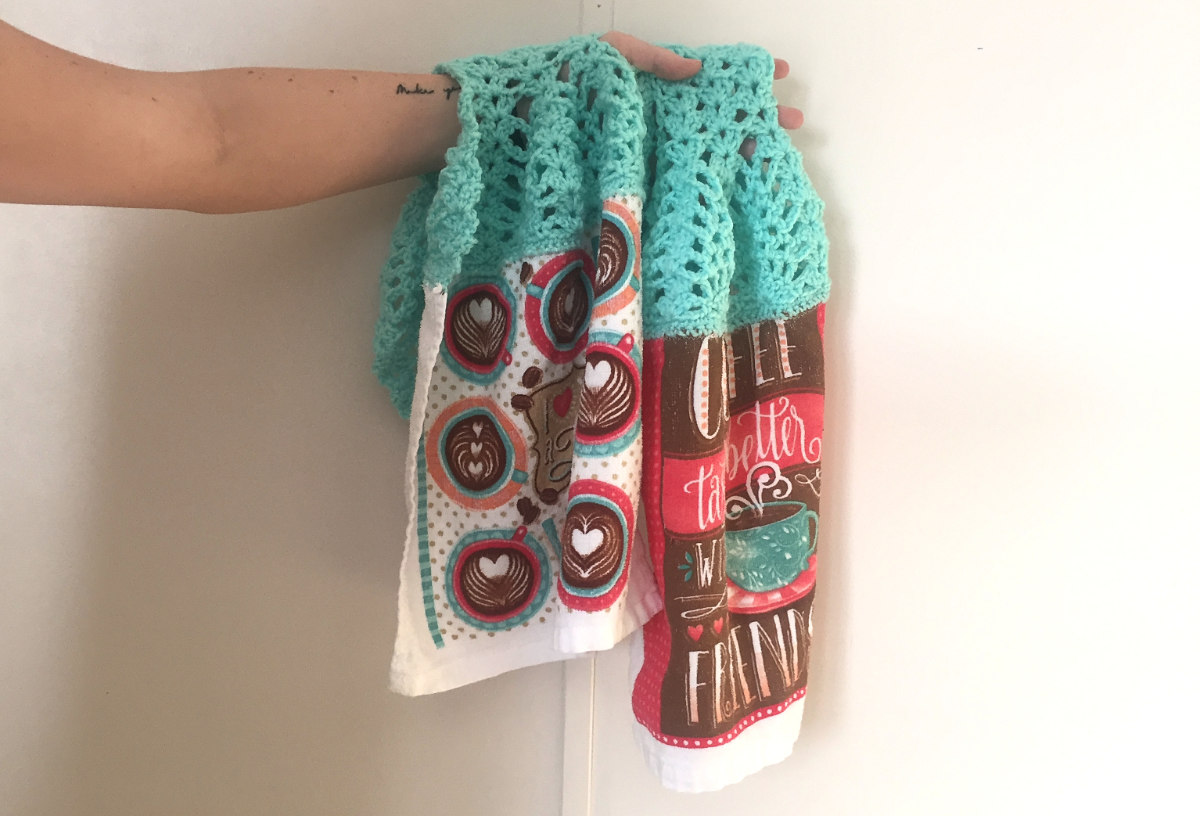
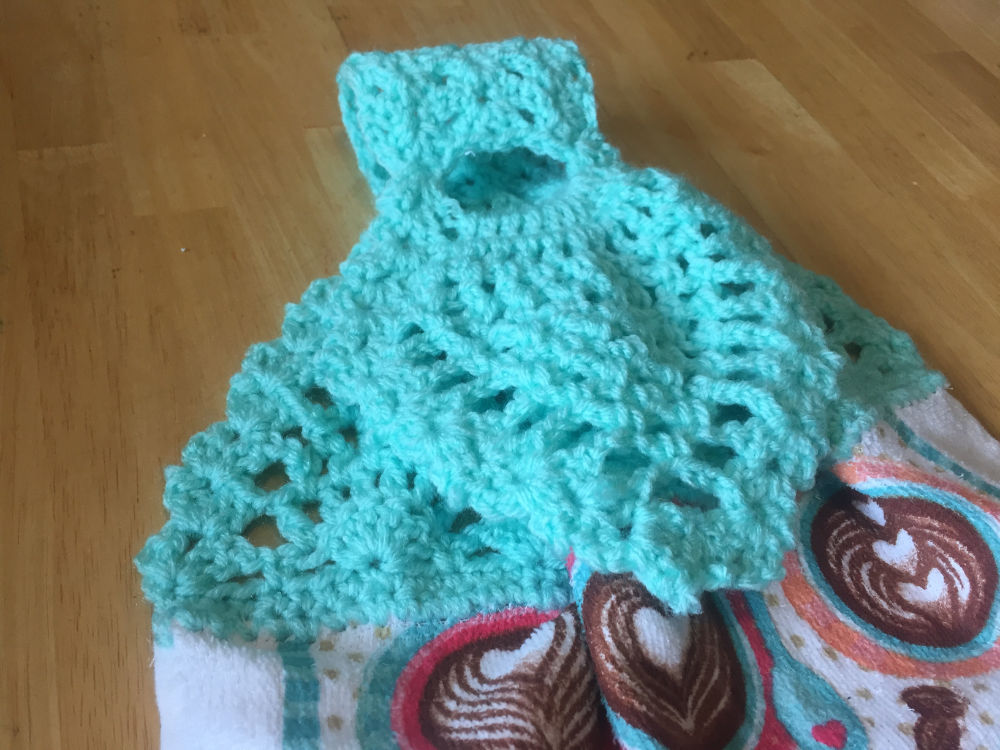

In the future, I’d go with cotton yarn because of how much these are going to be washed. The acrylic probably won’t hold up to too many major washings, so I might re-do these later on. For now, I think they look great and I’m really excited to have learned to work with crocheting pineapples!
One thing to note about my rendition of this pattern: I did not use a button. I made the “buttonhole” in the pattern rather large, and then hung the towel by threading in on itself around the railing of the stand.
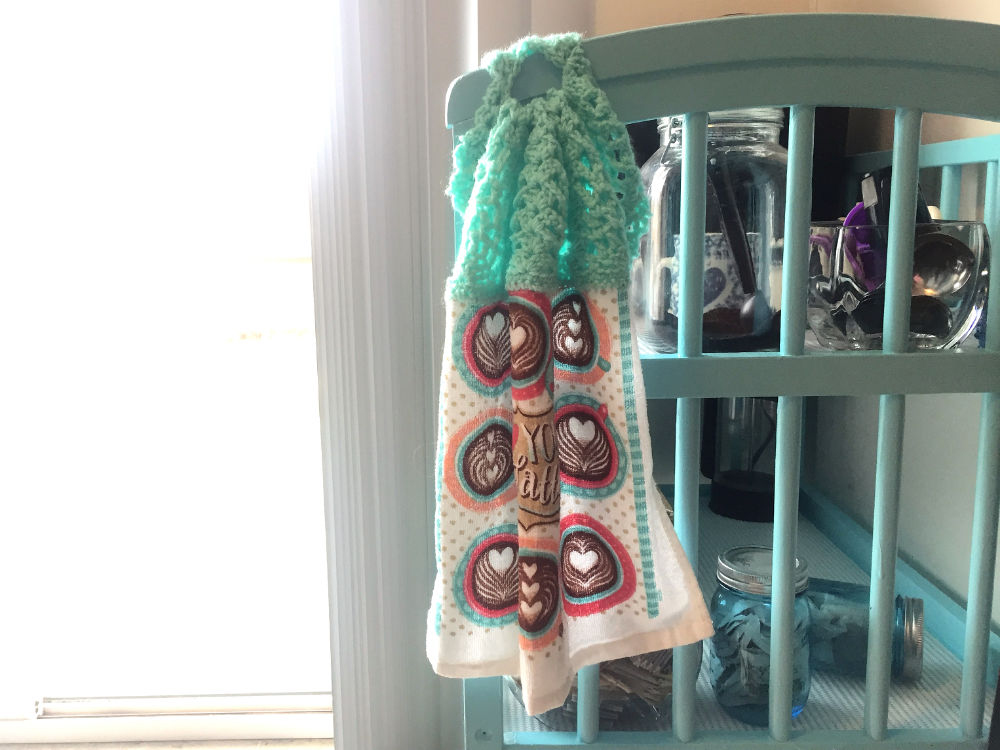
I hope this post is an inspiration for anyone whose ever wanted to try this out! For me this was a big happy dose of nostalgia and it was a really easy, enjoyable project.
Happy hooking!
![]()

